
Opinion
How to Make a Cutlery Pouch with Napkin
Creating a cutlery pouch with a napkin is a great way to add a personal touch to your table settings, whether it’s for a special event, a restaurant, or a simple family dinner. Not only does it keep silverware organized, but it also makes your place settings look neat and polished. Follow these simple steps to create your own cutlery pouch that is both functional and elegant.
Materials Needed
To make your own restaurant silverware holder with a napkin, gather the following materials:
- A clean cloth napkin (square or rectangular)
- Silverware (knife, fork, spoon)
- Ribbon, twine, or elastic (optional for securing the pouch)
- Iron (for neat folds)

Step-by-Step Guide to Creating a Cutlery Pouch with a Napkin
Craft a stylish, functional silverware holder in minutes
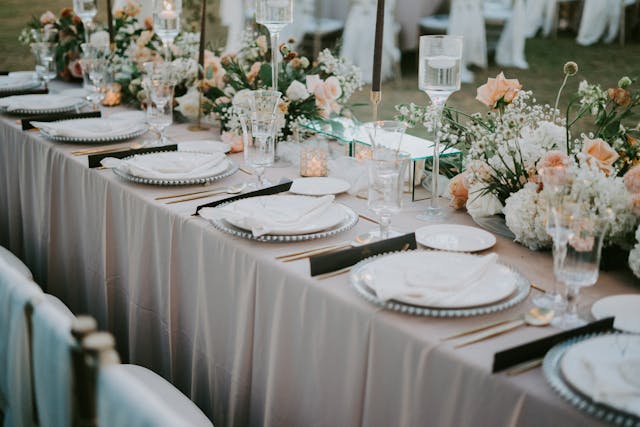
A napkin cutlery pouch is a simple yet elegant way to present silverware at any event — from a wedding reception or holiday dinner to a casual café setting. This method not only enhances the table’s aesthetic but also keeps utensils clean and organized. Here’s a detailed, step-by-step guide for creating your own reusable or disposable restaurant silverware holder using just a napkin and a bit of finesse.
Step 1: Prepare the Napkin
Start by selecting your napkin. You can use cloth or a high-quality paper napkin depending on the occasion.
- Size: Aim for a square napkin (16″x16″ is ideal for fabric, or 13″x13″ for paper).
- Fabric: Cotton or linen offers structure and a premium look. Paper napkins are quicker for large events.
- Design: Match the color or print to your brand or event theme.
Lay the napkin flat on a clean, dry surface. If using cloth, iron it first to remove creases and give it a crisp finish.
Step 2: Fold the Napkin into a Pouch
Basic Pocket Fold (Classic & Quick):
- Place the napkin face down (if it has a pattern).
- Fold the bottom third upward — this creates the base of your pocket.
- Fold the top third downward so it slightly overlaps the bottom fold, forming a long rectangle.
- Flip the napkin over, keeping the folds intact.
- Fold the right side toward the center, then fold the left side over it, tucking the edge to form a tight wrap.
- Flip it again — now you’ll see a clean pocket where the cutlery will be inserted.
You now have a tidy and practical pouch ready for utensils!
Step 3: Insert the Cutlery
Neatly place your utensils into the pocket:
- Standard order: Knife on the right, fork on the left, spoon behind or beside the fork.
- Ensure all handles are aligned evenly and visible.
- For a touch of elegance, you can add a sprig of rosemary or lavender between the cutlery.
This not only organizes utensils but also adds subtle fragrance and style.
Step 4: Secure and Decorate the Pouch
If you want the napkin to stay firmly wrapped (especially for takeaway or outdoor events), you can tie it with:
- A ribbon or twine for a rustic or romantic look
- Branded paper bands or logo stickers for cafes and restaurants
- A custom tag with the guest’s name for weddings or seated dinners
This step enhances presentation while helping with place settings and personalization.
Optional Styling Tips
- Add a menu card or QR code into the pouch behind the utensils.
- Use seasonal colors: Red for holidays, pastels for spring, earthy tones for autumn.
- Pair with a matching tablecloth or placemat to create a cohesive tablescape.
Once your restaurant silverware holder is complete, you can experiment with different folding styles or add embellishments like a sprig of herbs, a napkin ring, or even a personalized tag for a special event. Whether for a wedding, banquet, or a casual dinner, this simple yet effective method ensures your cutlery is both organized and beautifully presented.

